
Photo: Pexels
How to Patch Small Drywall Holes: A Temple Homeowner's Guide
A small drywall hole from a doorknob, anchor, or accidental bump can be patched in about 45 minutes with basic supplies from any hardware store.
Quick Answer
Patch doorknob holes and small drywall damage in under an hour with a mesh patch and joint compound.
Tools needed
Self-adhesive mesh patch, Pre-mixed joint compound, 6-inch putty knife, Fine sandpaper (120 to 150-grit), Damp sponge for smoothing, Paint and primer

Before You Start
If you are looking at a small drywall hole, a doorknob punch-through, an old shelf anchor, or the aftermath of a TV mount that did not work out, you can fix it yourself in about 45 minutes with basic supplies.
This guide covers two methods: the mesh patch (holes up to 3 inches) and the California patch (3 to 4 inches). Neither requires special skills or expensive tools.
Temple homes see a lot of this damage. Doorknob holes are the classic one, a door without a wall stop slams open and the knob punches through. Shelf anchor holes from moves are another constant, especially with military families installing and removing wall-mounted shelving and TVs on a regular cycle.
What You Will Need
Pick up everything in one trip so you do not have to stop mid-repair.
For the mesh patch method (holes up to 3 inches):
- Self-adhesive mesh patch
- Pre-mixed joint compound
- 6-inch putty knife
- Fine sandpaper (120 to 150-grit)
- Damp sponge for smoothing
- Paint and primer
For the California patch method (holes 3 to 4 inches):
- A scrap piece of drywall slightly larger than the hole
- Utility knife
- Pre-mixed joint compound
- 6-inch and 10-inch putty knives
- Fine sandpaper (120 to 150-grit)
- Damp sponge
- Paint and primer
Total materials cost: about $10 to $20.
Method 1: Mesh Patch (Holes Up to 3 Inches)
This is the go-to method for doorknob holes, anchor holes, and small dings. Fast and reliable.
Step 1: Prep the hole
Remove any loose material around the edges. Pull out old anchors or push them through the wall. Scrape the area flat with your putty knife so there are no raised edges or crumbling drywall. If the hole is from a doorknob, there may be a clean round punch-through, that is ideal for a mesh patch.
Step 2: Apply the mesh patch
Center the self-adhesive mesh patch over the hole. Press it firmly against the wall, making sure the mesh extends at least an inch beyond the damage in every direction. Run your hand over it to flatten any bubbles or wrinkles.
Step 3: First coat of joint compound
Spread compound over the mesh in thin, even strokes. Cover the entire patch and extend about an inch past the edges. Feather by lightening pressure as you move outward.
Sponge tip: Lightly smooth the edges with a damp sponge to reduce dust and get a cleaner feathered edge.
Step 4: Let it dry completely
Give it 2 to 4 hours. Do not speed it up with a heat gun, that causes cracking. The compound is ready when it is uniformly white and dry to the touch.
Step 5: Sand and apply the second coat
Sand with 120 to 150-grit paper. Light pressure, smooth ridges, do not grind into the mesh. Wipe dust with a damp cloth. Apply a second coat, slightly thinner and wider than the first. Let it dry completely.
Step 6: Final sand, prime, and paint
Sand smooth. Run your fingertips over the patch, you should not feel where it ends and the wall begins. If you can, apply one more thin coat.
Prime before painting. Joint compound absorbs paint at a different rate than the surrounding wall, so skipping primer leaves a visible difference. One coat of primer, then two coats of matching paint.
Method 2: California Patch (Holes 3 to 4 Inches)
For holes too large for a mesh patch. Doorknob holes that took a chunk of wall or spots where a large anchor was ripped out are good candidates.
Step 1: Make the patch
Cut scrap drywall about 2 inches larger than the hole on each side. Flip it over. Score the gypsum about 1 inch from each edge, then snap it away, leaving the front paper facing intact. You end up with a drywall plug in the center and paper "wings" around the edges.
Step 2: Trace and cut the wall opening
Hold the plug against the wall over the hole. Trace around it. Cut along the line with a utility knife to create a clean opening the plug fits into.
Step 3: Mud and set the patch
Apply compound around the hole where the paper wings will sit. Press the plug into the opening, smooth the wings flat into the compound. The plug should sit flush with the wall.
Step 4: Coat, dry, sand, repeat
Apply compound over the entire patch and wings. Feather the edges wide. Follow the same drying and sanding process as the mesh method, two coats minimum, sanding between each.
Common Temple Repair Scenarios
Doorknob holes
The most common small drywall repair in any home. If your door does not have a wall stop (the spring-loaded bumper on the baseboard or a hinge-pin stop), the doorknob hits the wall every time the door swings open. A mesh patch handles most doorknob holes. After the repair, install a $3 door stop to prevent it from happening again.
Shelf anchor holes from moves
Military families and renters in Temple know this one well. Wall-mounted shelves, TV brackets, and floating shelves leave behind anchor holes when they come down. Small anchor holes can be filled with spackle and do not even need a mesh patch. Larger toggle bolt holes benefit from the mesh patch approach.
Old picture hanging damage
Nail holes from picture hanging are the simplest fix. Fill with lightweight spackle, let dry, sand flat, prime, paint. No patch needed for holes smaller than a pencil diameter.
Know When to Call a Professional
Be honest about what is beyond a simple patch:
- Holes larger than 4 inches need backing support (new drywall, furring strips, or a stud-to-stud patch). This is a different level of repair.
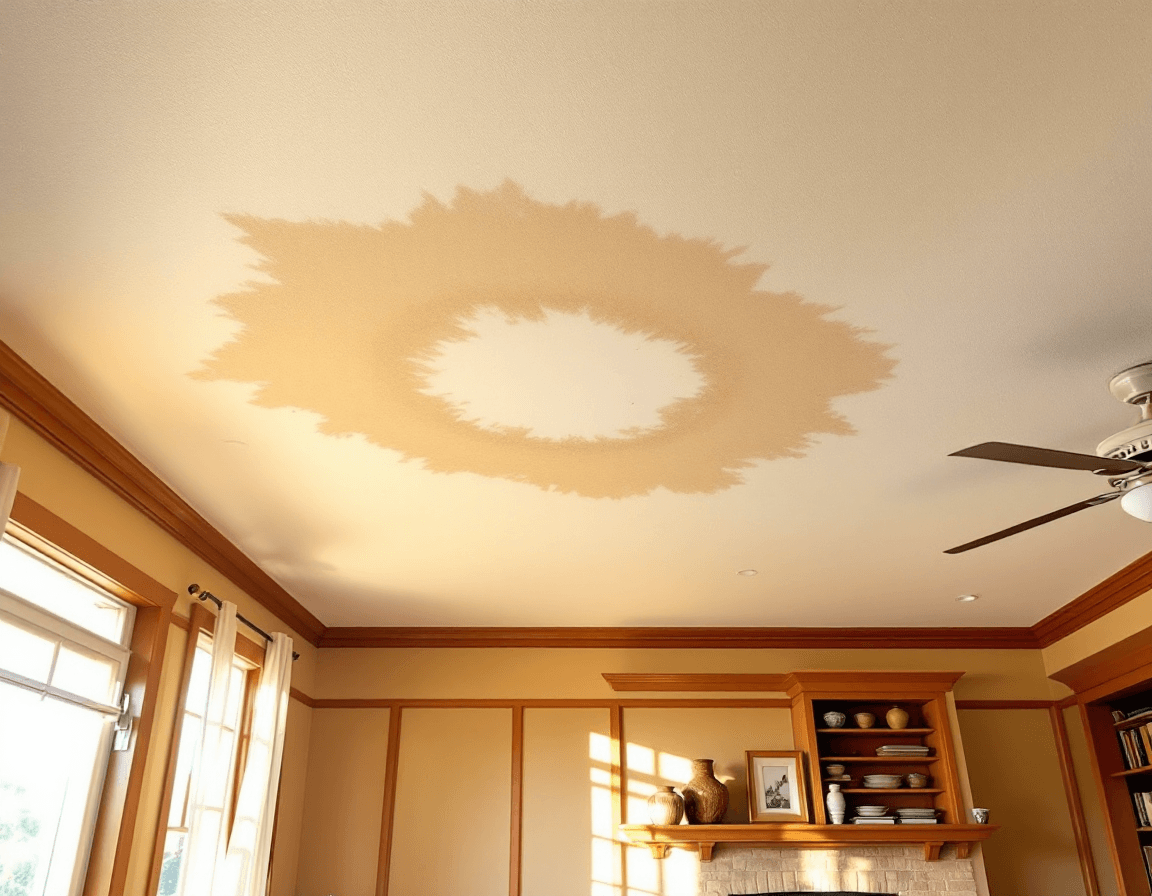
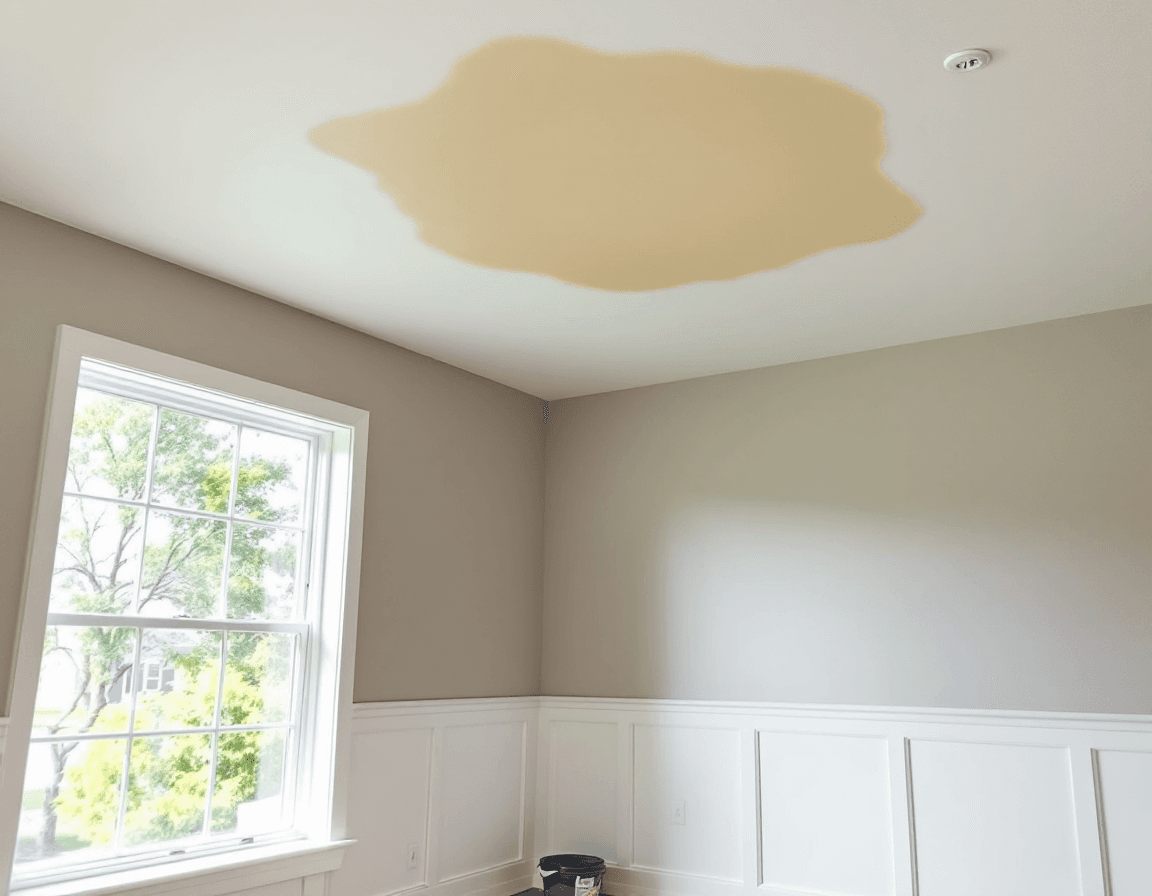
- Water-damaged drywall, if the area is soft, discolored, or bubbled, the damage goes deeper than the surface. The water source needs to be fixed first, and the drywall may need replacement rather than patching. See our guide on water-damaged drywall in Temple.
- Ceiling damage is harder to work overhead, and ceiling holes can indicate roof leaks that need attention first.
- Near electrical or plumbing, do not cut into walls near outlets, switches, or plumbing without knowing what is behind them.
- Texture matching on heavy textures, if your walls have a complex texture and you cannot get the match right, a pro will save you time and frustration.
PatchMaster handles drywall work across the Waco-Temple-Killeen area for jobs that go beyond a simple patch. Their profile and coverage details are at PatchMaster Waco-Temple.
Related Guides
- How Much Does Drywall Repair Cost in Temple?, pricing for when you need a pro
- Signs Your Drywall Needs Repair in Temple, catch problems before they get worse
- Water-Damaged Drywall in Temple, water damage requires a different approach
- How to Patch Drywall Holes in Waco and Killeen, same techniques, local variations
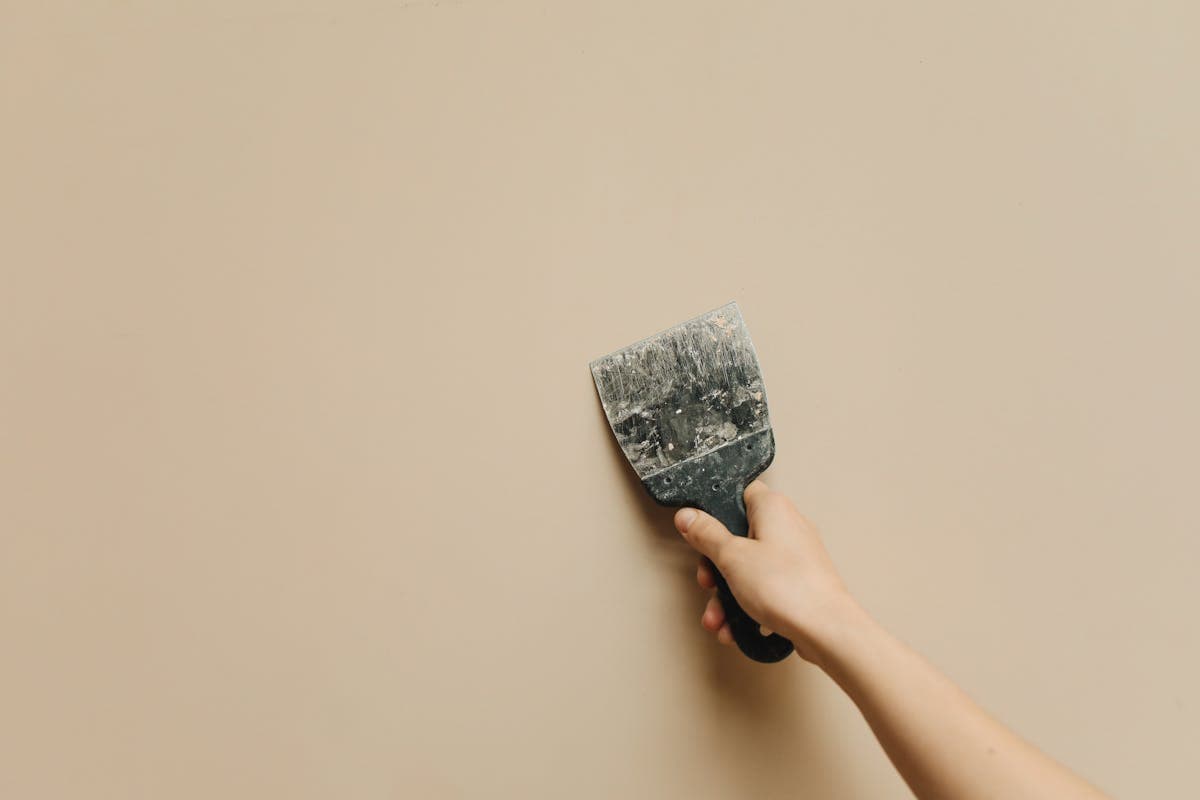
Photo: Pexels
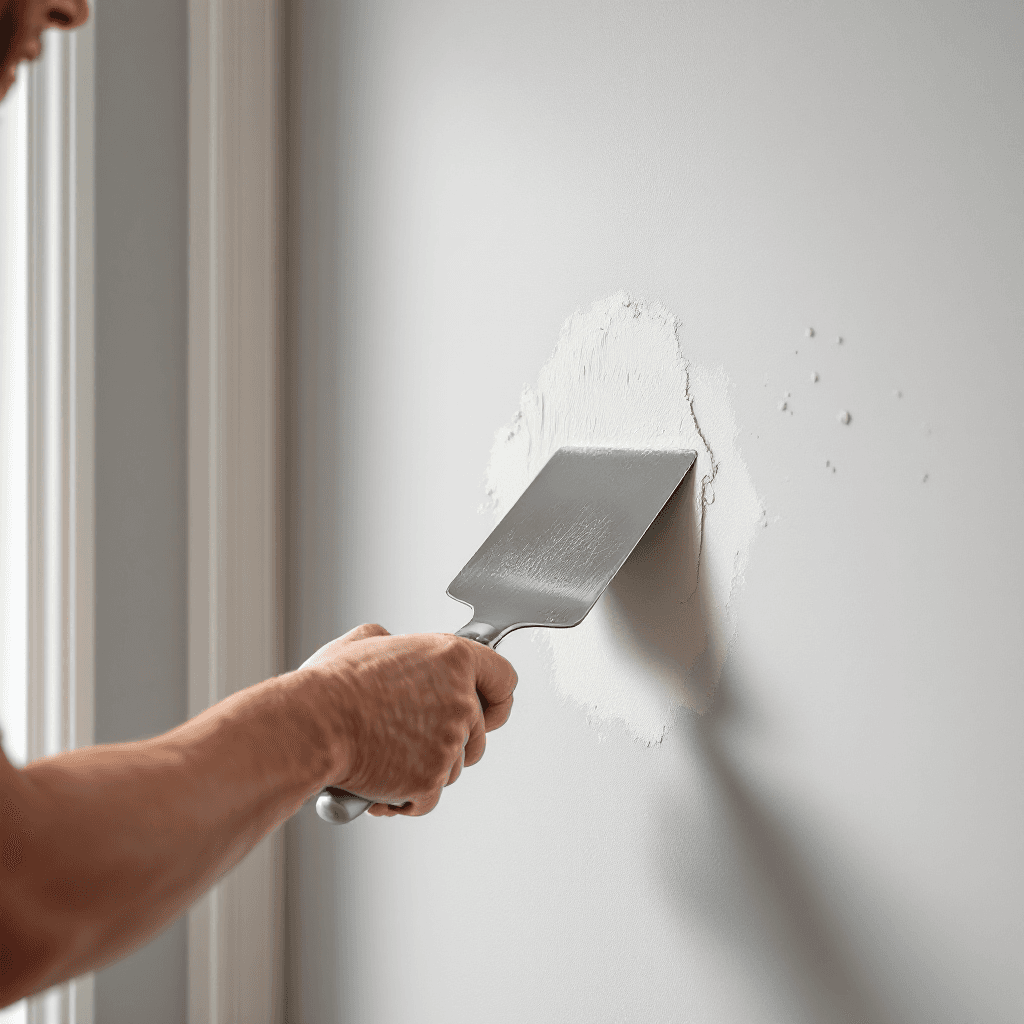
Photo: Pexels
Frequently Asked Questions
What is the easiest way to fix a small hole in drywall?▾
How long does drywall compound take to dry?▾
Can I patch drywall without sanding?▾
How do I fix a doorknob hole in drywall?▾
What size hole is too big to patch with a mesh kit?▾
Do I really need to prime before painting over a drywall patch?▾
Related Guides
Water-Damaged Drywall in Waco: Repair or Replace?
Water-damaged drywall in Waco often needs professional assessment due to mold risk from Brazos River humidity and aging plumbing in older homes.
Water-Damaged Drywall in Killeen: Repair or Replace?
Most water-damaged drywall in Killeen homes needs professional assessment because mold risk is high, especially in homes that were vacant during deployments.

Matching Drywall Texture After a Repair in Killeen, TX
Getting drywall texture right after a repair makes the difference between a patch that disappears and one that catches the eye at every inspection. Here is how to match common Killeen textures.