Photo: Pexels
How to Patch Small Drywall Holes: A Waco Homeowner's Guide
Most drywall holes under 4 inches can be patched in under an hour with a mesh patch kit, joint compound, and a putty knife -- no special skills needed.
Quick Answer
Small drywall holes under 4 inches can be patched with a mesh kit and joint compound in under an hour.
Tools needed
Mesh patch kit or drywall patch, Joint compound (pre-mixed), Putty knife (6-inch), Sandpaper (120-grit), Primer and paint for touch-up
Before You Start
If the hole is smaller than about 4 inches across, such as doorknob dings, shelf anchor holes, or a bump from moving furniture, you can fix it yourself in under an hour.
This guide covers two methods: the mesh patch (holes up to about 3 inches) and the California patch (3 to 4 inch range). Both work on standard half-inch drywall, which is what you will find in most Waco homes.
One note for older Waco homes, especially near Baylor, Castle Heights, or Brookview: many of these houses have textured walls like knockdown, orange peel, or skip trowel. The patching process is the same, but matching the texture adds an extra step. More on that below.
What You Will Need
Gather everything before you start so you do not have to stop mid-repair.
For the mesh patch method (holes up to 3 inches):
- Self-adhesive mesh patch kit
- Pre-mixed joint compound (a small tub is plenty)
- 6-inch putty knife
- 120-grit sandpaper
- Primer and matching paint
For the California patch method (holes 3 to 4 inches):
- Scrap piece of drywall slightly larger than the hole
- Utility knife
- Pre-mixed joint compound
- 6-inch and 10-inch putty knives
- 120-grit sandpaper
- Primer and matching paint
Total materials cost: about $10 to $15.
Method 1: Mesh Patch (Holes Up to 3 Inches)
This is the fastest approach for small holes. The self-adhesive mesh does the structural work, and you just skim over it with joint compound.
Step 1: Clean the area
Remove any loose drywall, crumbling edges, or old anchors. Use your putty knife to scrape the area flat so the mesh patch sits flush against the wall. If there is a wall anchor still in the hole, pull it out or push it behind the drywall.
Step 2: Apply the mesh patch
Peel the backing off the adhesive mesh patch and press it over the hole, centering it so the mesh extends at least an inch past the edges of the damage on all sides. Smooth it flat with your hand.
Step 3: Apply the first coat of joint compound
Spread a thin layer of compound over the entire mesh, extending an inch or two past the edges. Keep it thin; you are coating, not filling. Feather the edges by reducing pressure as you move away from the center.
Step 4: Let it dry
Pre-mixed compound takes 2 to 4 hours to dry. In Waco's humid summers, it can take longer. Wait until it is uniformly white and dry to the touch.
Step 5: Sand and apply the second coat
Lightly sand with 120-grit sandpaper; just knock down ridges and tool marks. Wipe dust with a damp cloth. Apply a second, thinner coat, extending slightly farther than the first to widen the feathered edge. Let it dry completely.
Step 6: Final sand, prime, and paint
Sand smooth. Run your hand over it; it should feel flush with the surrounding wall. If you can still feel an edge, apply a third thin coat and repeat.
Prime before painting. Joint compound absorbs paint differently than the wall around it, so skipping primer leaves a visible spot. Two coats of matching paint finishes the job.
Texture matching for Waco homes: If your walls have knockdown or orange peel, replicate the texture on the patch before painting. Spray-on wall texture works for light orange peel. For heavier knockdown, apply joint compound with a knife and flatten it with a knockdown knife. Practice on cardboard first.
Method 2: California Patch (Holes 3 to 4 Inches)
The California patch (sometimes called a butterfly patch) uses a piece of drywall as the patch material. Stronger than mesh alone, it works well for holes too large for a simple mesh patch.
Step 1: Cut your patch piece
Cut scrap drywall about 2 inches larger than the hole on all sides. On the back, score the gypsum core about 1 inch from each edge and snap it off, leaving the front paper facing intact. You end up with a drywall center the size of the hole and paper "wings" extending outward.
Step 2: Trace and cut the wall
Hold the drywall center over the hole and trace around it. Cut along the traced line with a utility knife, creating a clean opening that the center fits into snugly.
Step 3: Apply compound and set the patch
Spread a thin layer of compound around the hole on the wall surface. Press the patch in so the center sits flush and the paper wings lay flat against the surrounding wall. Smooth the wings down with your putty knife.
Step 4: Skim coat and finish
Apply compound over the entire patch and paper wings, feathering the edges. Follow the same dry-sand-recoat process from the mesh method. Two coats for smooth walls. Textured walls need the texture matched after the final coat dries.
Matching Texture on Older Waco Walls
Many Waco homes, particularly those built before the 1990s, have textured wall finishes. A perfectly smooth patch on a textured wall stands out more than the original hole did. Here is how to handle the common textures:
- Orange peel: Spray-on texture from a can. Hold 12 to 18 inches from the wall and apply in short bursts. Let it dry, then paint.
- Knockdown: Apply small dollops of thinned joint compound to the patch, let them set for about 10 minutes, then flatten lightly with a wide putty knife. Practice first.
- Skip trowel: Apply thin patches of compound and drag a knife across at an angle. This one is harder to match. If the surrounding texture is heavy, you may want to call a pro.
Know When to Stop
This guide covers small holes: roughly 4 inches and under. You should call a professional if:
- The hole is larger than your hand or larger than 4 inches across
- The area around the hole is soft, crumbly, or shows water staining
- The damage is on a ceiling, which is harder to patch cleanly and may indicate a leak
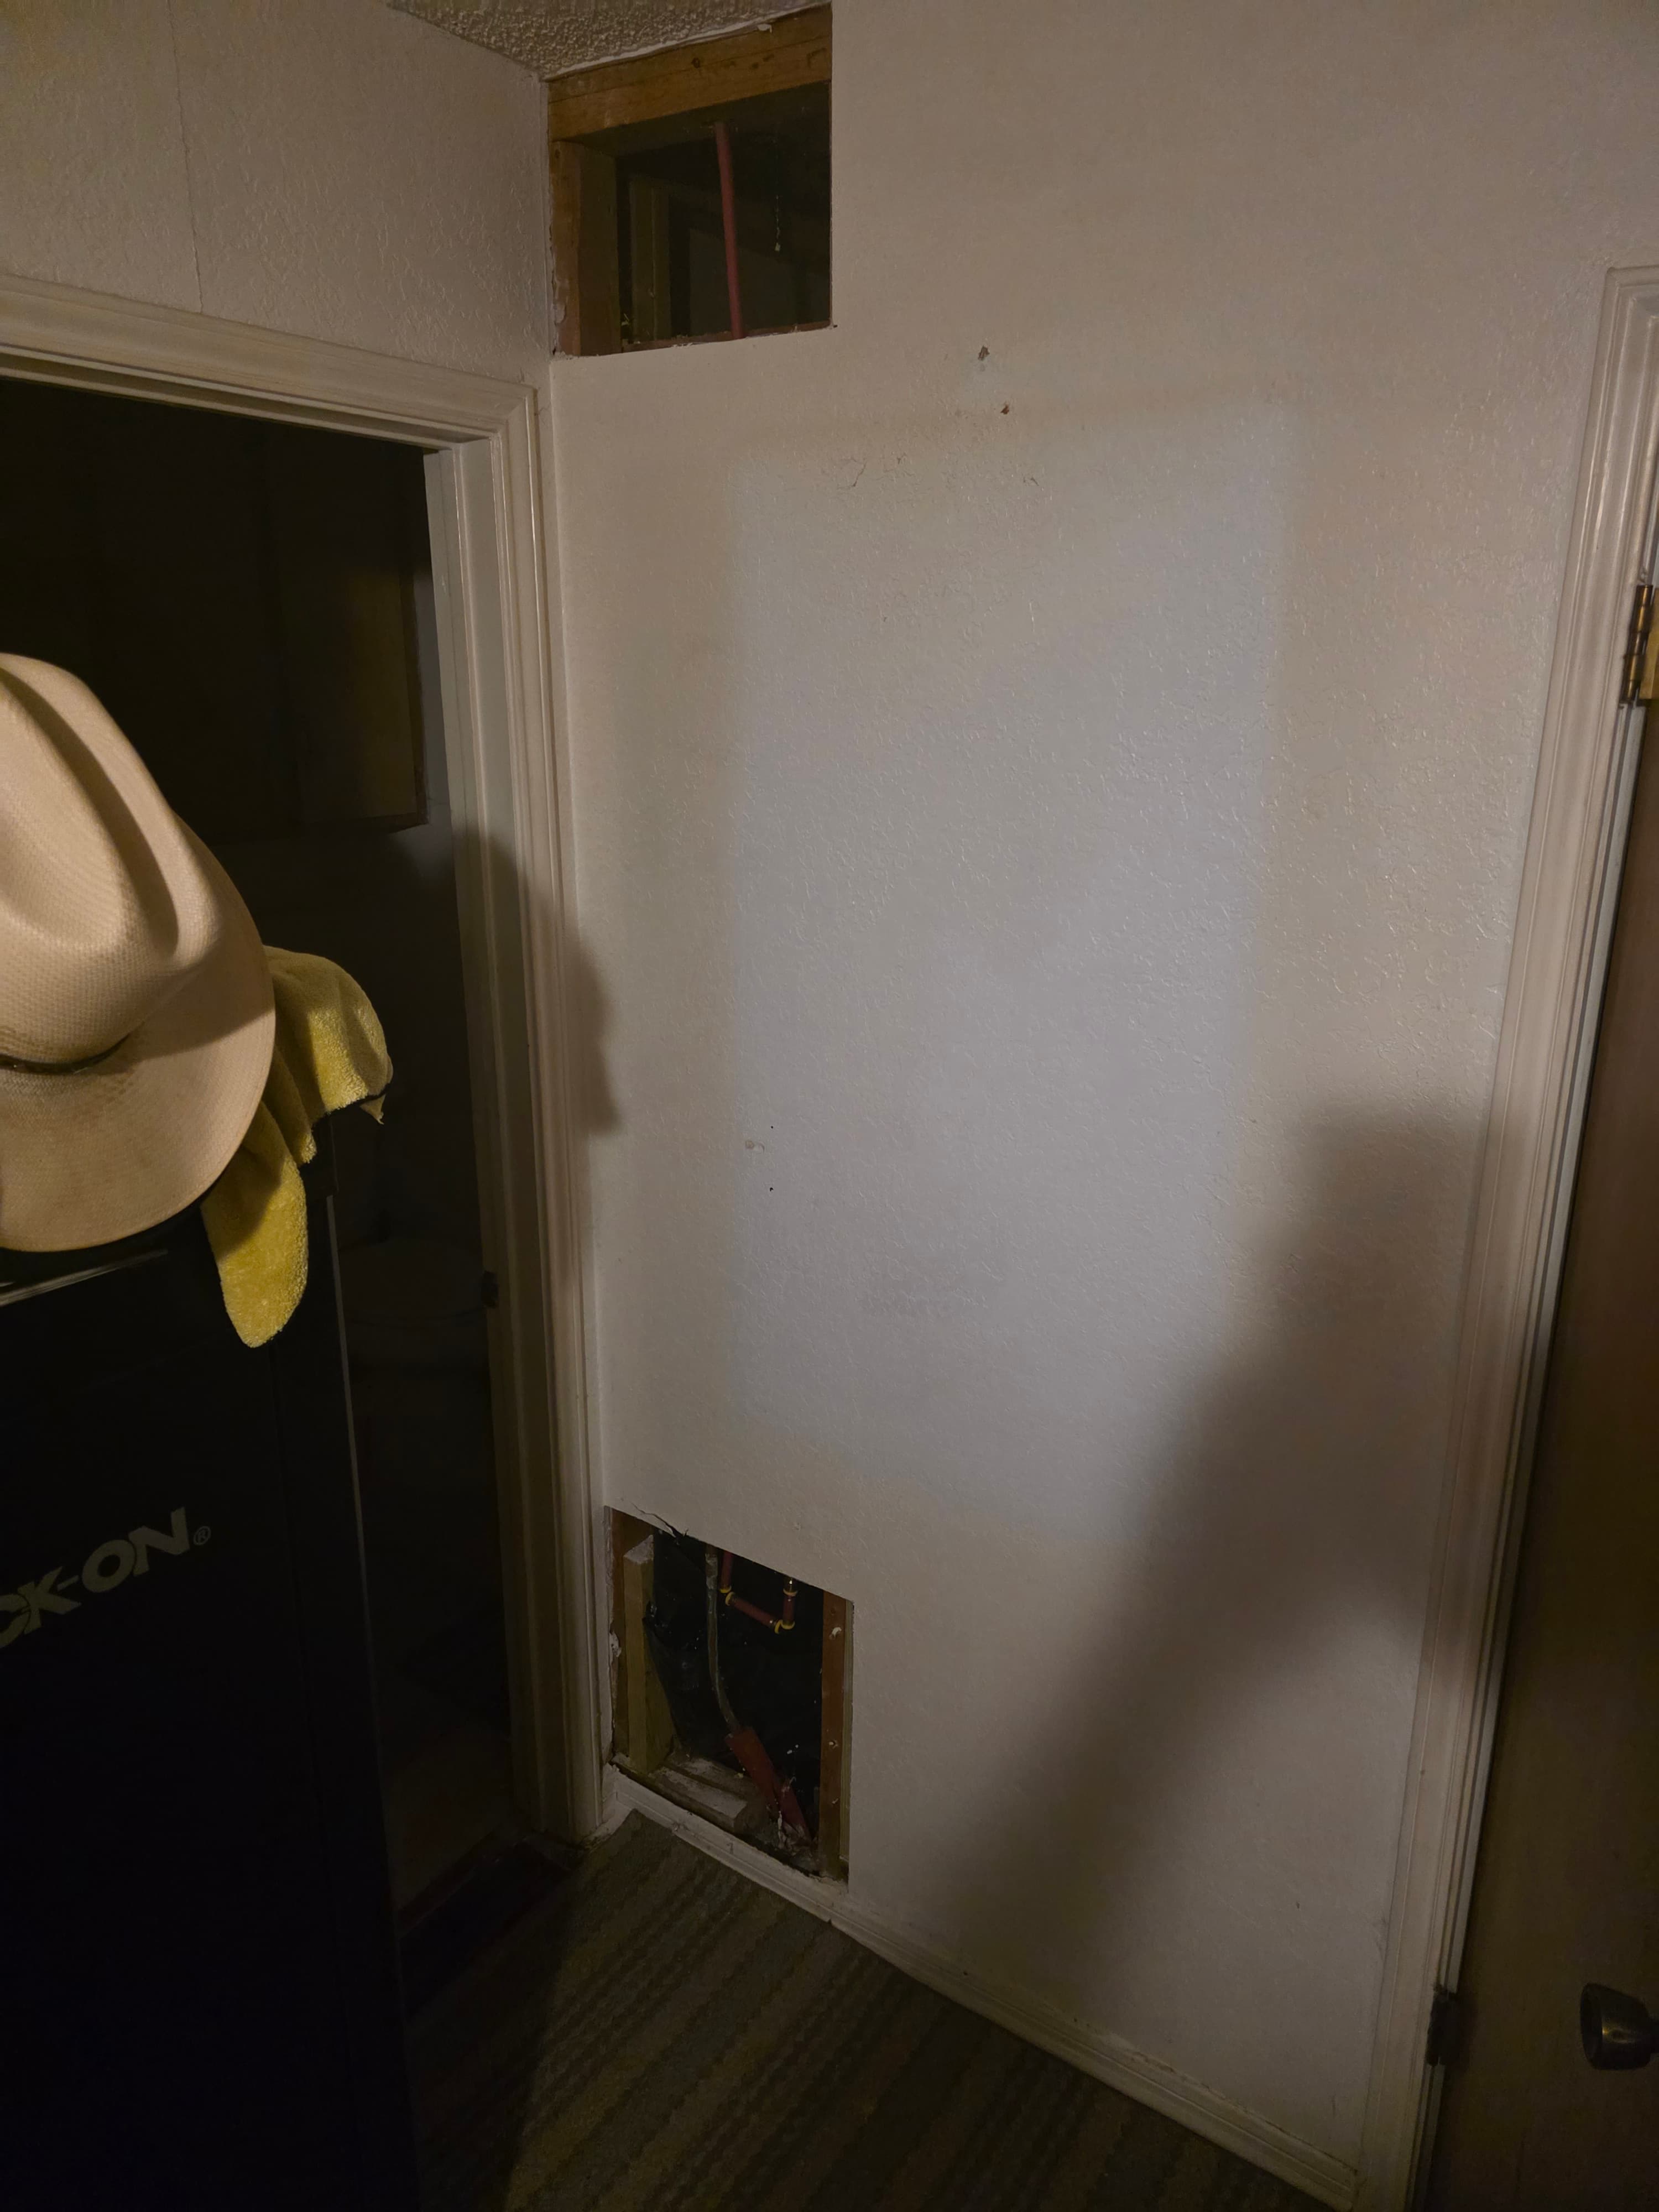
- The hole is near electrical outlets, switches, or plumbing; cutting into the wall near utilities is not a DIY task
- You have tried patching and the texture match just is not working
If the hole is larger than your hand or involves water damage, PatchMaster handles drywall work across the Waco-Temple-Killeen area. You can find their details at PatchMaster Waco-Temple.
Related Guides
- How Much Does Drywall Repair Cost in Waco?, what to expect if you hire a pro
- Signs Your Drywall Needs Repair, how to spot problems early
- What to Do About Water-Damaged Drywall in Waco, when water is involved, different rules apply
- How to Patch Drywall Holes in Temple and Killeen, same methods, different local context
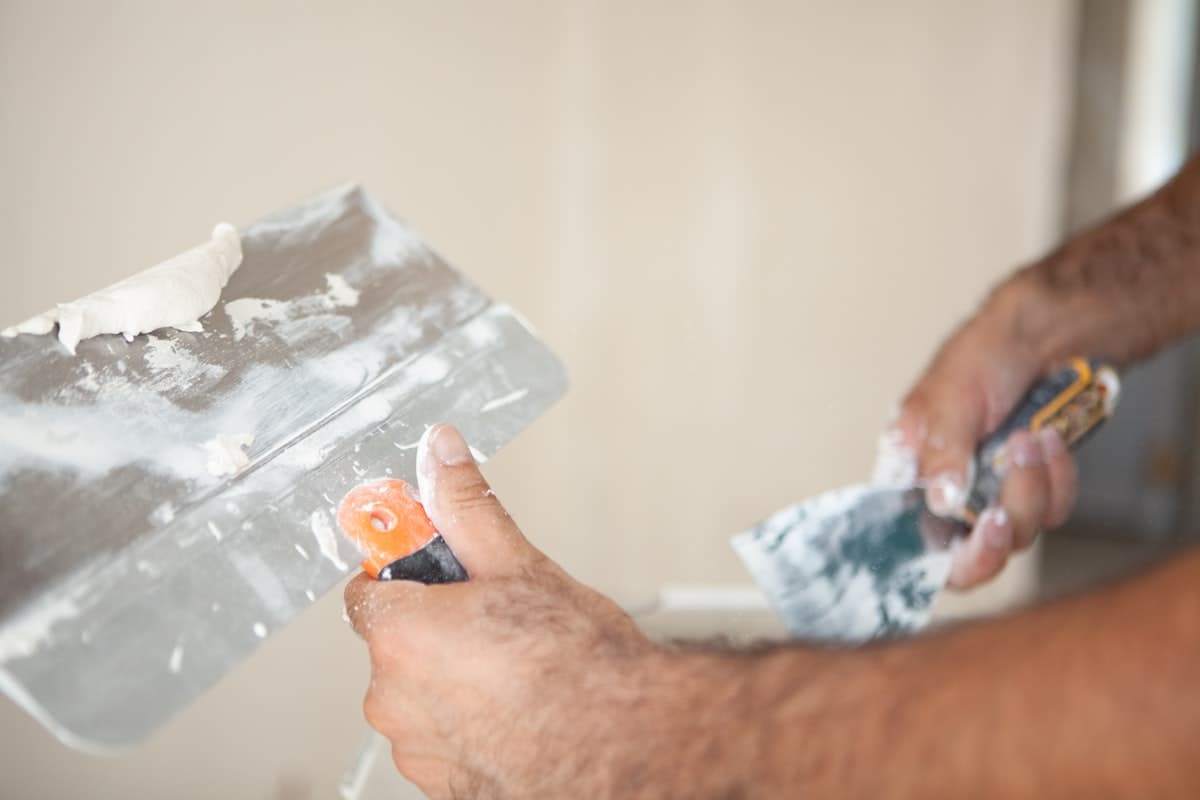
Photo: Pexels
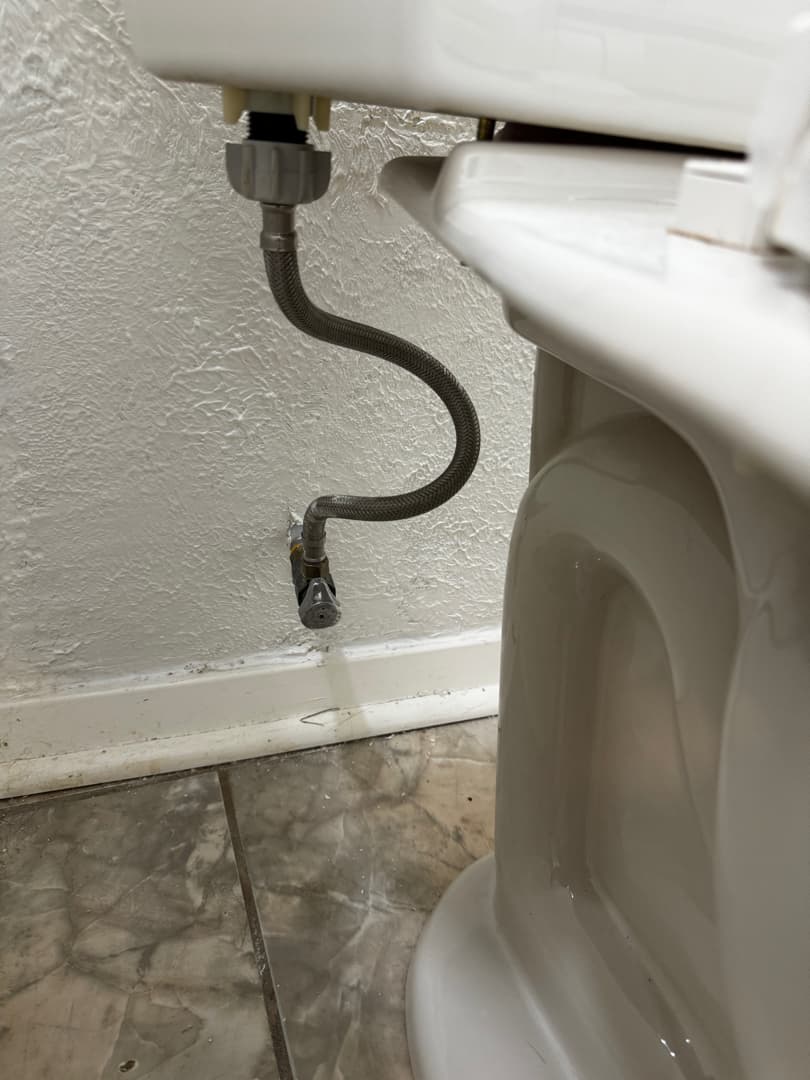
Photo: Pexels
Frequently Asked Questions
What is the easiest way to fix a small hole in drywall?▾
How long does drywall compound take to dry?▾
Can I patch drywall without sanding?▾
How do I match wall texture after patching drywall?▾
What size drywall hole is too big to patch myself?▾
Related Guides
Water-Damaged Drywall in Waco: Repair or Replace?
Water-damaged drywall in Waco often needs professional assessment due to mold risk from Brazos River humidity and aging plumbing in older homes.
Water-Damaged Drywall in Killeen: Repair or Replace?
Most water-damaged drywall in Killeen homes needs professional assessment because mold risk is high, especially in homes that were vacant during deployments.

Matching Drywall Texture After a Repair in Killeen, TX
Getting drywall texture right after a repair makes the difference between a patch that disappears and one that catches the eye at every inspection. Here is how to match common Killeen textures.